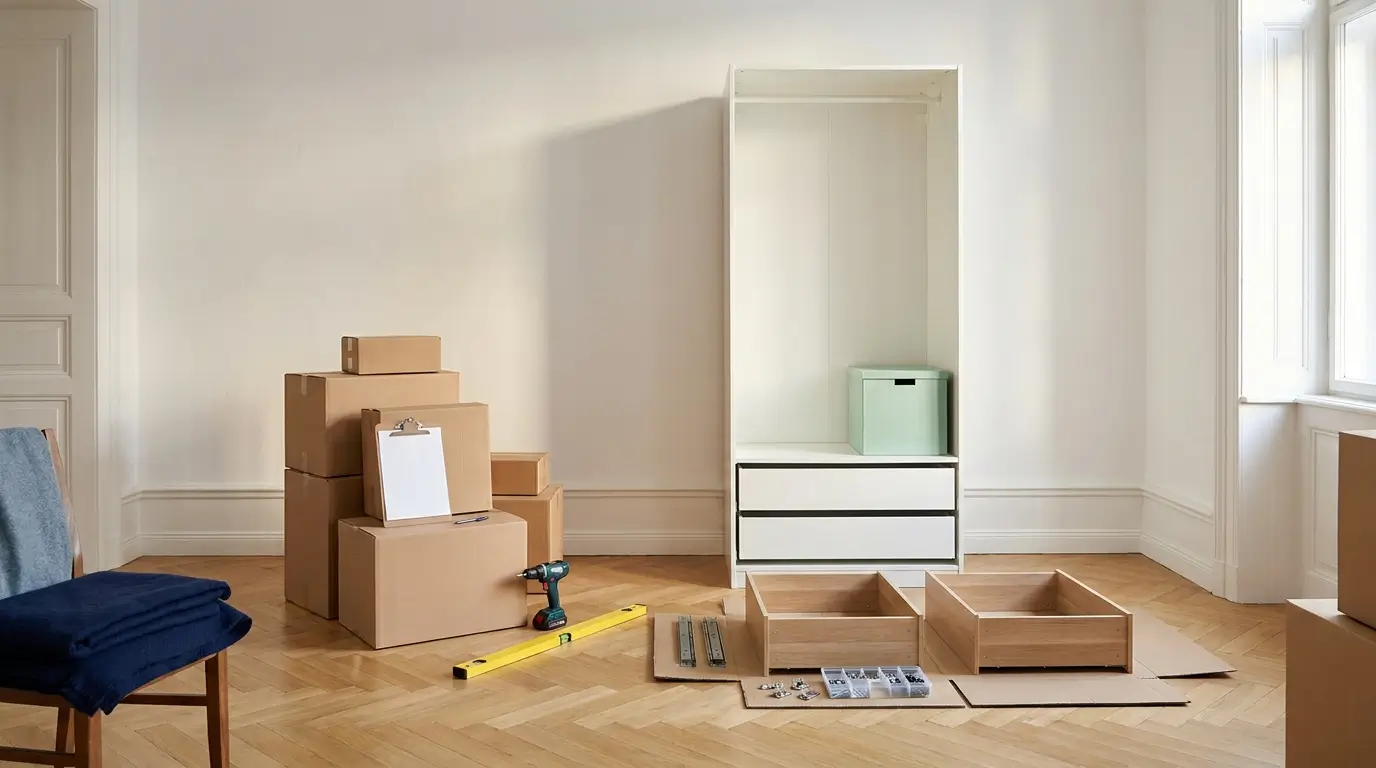
The boxes have been sitting in the hallway for two weeks. Seven packages, over 100 kilos, and instructions without a single word.
Then Saturday comes. By the evening the wardrobe is standing. Almost. One door hangs half a centimetre lower than the other. The sliding door rumbles. And when you push the top, the whole thing wobbles slightly.
That's not bad luck. With PAX, the same mistakes happen almost every time. Most of them don't happen while screwing things together, but before: when measuring, when planning, and in the first few minutes with the frame (the wardrobe's body, without doors).
When we assemble PAX wardrobes, we keep seeing the same eight mistakes. Here they are, in the order they happen, and how to avoid each one.
Before you buy
Mistake 1: Measuring the wall, but not the way there
Most people measure the width of the wall. That matters. But it's not enough.
Before you buy, also measure:
- the ceiling height, in several places. In older buildings especially, the ceiling isn't the same height everywhere.
- the skirting board at the bottom of the wall. The wardrobe stands in front of it, so it sits one or two centimetres away from the wall. With a depth of 58 cm, that can matter if there's a door or window next to it.
- sockets, light switches and radiators on the wall. A wardrobe in front of them makes them useless.
- doors, hallways and the stairwell. The parts come flat-packed, but the longest package is as long as the wardrobe is tall.
PAX comes in two heights (201 and 236 cm), three widths (50, 75 and 100 cm) and two depths (35 and 58 cm). For clothes on hangers you need 58 cm. The 35 cm depth works for shelves, folded clothes and small rooms.
Mistake 2: Building the frame lying down, then it won't stand up
This is the classic. The frame is finished, lying on the floor, everyone lifts. Halfway up, the top edge hits the ceiling.
The reason is simple geometry. When you stand the frame up, it tips over its corner. So what counts is the diagonal, not the height. For a frame that is 236 cm tall and 58 cm deep, that's around 243 cm.
The first two values come from IKEA, the third is calculated:
| Situation | Minimum ceiling height |
|---|---|
| 236 cm frame, assembled standing up | 237 cm |
| 236 cm frame with sliding doors | 240 cm |
| 236 cm frame, built lying down and stood up | around 245 cm (243 cm diagonal plus a little room) |
If your ceiling is lower, assemble the frame standing up. It works, but only with two people. Or go for the lower 201 cm version.
During assembly
Mistake 3: One part the wrong way round, and you notice too late
Many PAX parts look almost identical. The difference is in the pre-drilled holes. Put one side panel in the wrong way round, and two hours later the hinges don't fit.
How to avoid it:
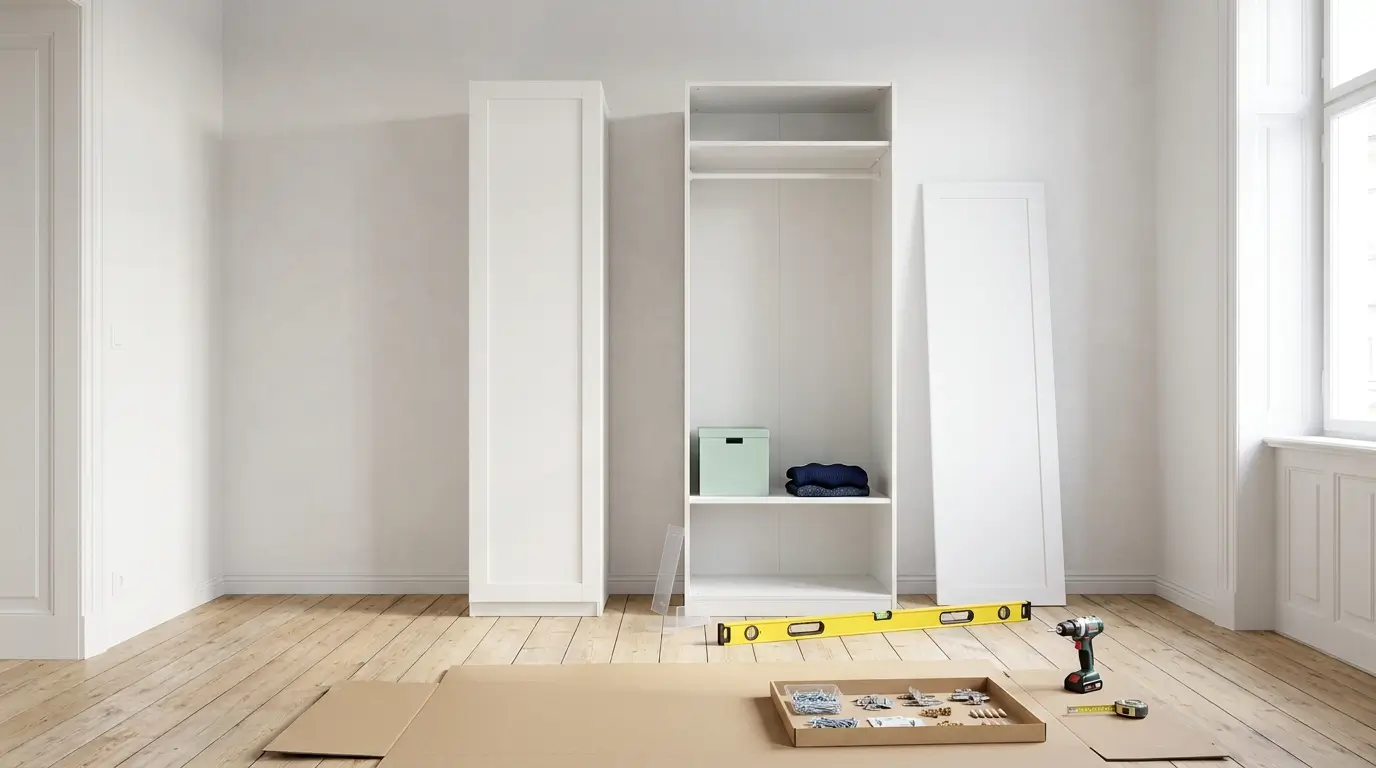
- Lay out all the parts before you start and match them to the instructions.
- At every step, compare the holes on the part with the picture in the instructions, not just the shape.
- Put the parts on the empty cardboard. It protects your floor and the surfaces.
Mistake 4: Driving the screws too tight with the drill
PAX is made of chipboard. That's pressed wood chips. Firm, but not as strong as solid wood. Tighten a screw too much and it spins and stops holding. The hole is ruined.
A cordless screwdriver saves a lot of time. But set the clutch low. That's the numbered ring at the front. It sets the maximum force the tool turns with. Start low, for example at 3 to 5. Do the last turn by hand.
Mistake 5: Fixing the back panel before the frame is square
The thin back panel makes the frame rigid. Once it's nailed on, the frame keeps whatever shape it has at that moment. If it's slightly out of square, it stays that way forever. And the doors never close quite right.
Before you fix the back panel, measure the frame corner to corner: from top left to bottom right, then from top right to bottom left. If both are the same, the frame is square. If not, gently push the frame along the longer diagonal until they match.
Mistake 6: Ignoring an uneven floor
Hardly any floor is perfectly flat. Old wooden floorboards certainly aren't. A difference of a centimetre or more over two metres is completely normal.
The PAX has height-adjustable foot caps. According to IKEA, they keep it stable "even on slightly uneven floors". The word "slightly" matters. For bigger differences they're not enough.
Here's how to do it:
- Put a long spirit level on the floor where the wardrobe will stand. That shows you where the floor is lower.
- Stand up the first frame and level it with the foot caps, left to right and front to back.
- If that's not enough, slide firm plastic furniture shims* under the side panels. Don't use cardboard or wood. Both give way over time.
- Line up every other frame with the first one, not with the floor.
At the end
Mistake 7: Not connected and not fixed to the wall
If several frames stand side by side, they need to be screwed together. Only then are they one wardrobe, not a row of separate boxes shifting against each other.
Then comes the most important step for safety: fixing it to the wall. IKEA requires it. A 236 cm wardrobe can tip forward if someone pulls out a drawer and leans on it, or a child climbs up.
A bracket is included. Screws and wall plugs aren't, because they depend on your wall. For concrete and solid brick, a universal plug like the fischer DuoPower* works. For plasterboard and perforated brick you need something else. How to identify your wall is explained in our article Which wall plug for which wall?.
Before drilling, check for electrical cables and water pipes in the wall. A detector like the Bosch Truvo* shows them in seconds.
Mistake 8: Hanging the doors and not adjusting them
The doors are on, so you're done? Almost. New doors rarely hang perfectly straight away. That's normal, and it's why the hinges can be adjusted.
Every hinge has small screws for three directions:
| Problem | What to adjust |
|---|---|
| Uneven gap between two doors | sideways |
| One door hangs lower than the other | height |
| Door sticks out from the frame at the top or bottom | depth |
Turn just a little at a time and watch what happens. A quarter turn is often enough.
With sliding doors, the problem is almost always further down. If a sliding door rumbles or rolls by itself, the frame isn't level. Adjusting the door won't help. Back to mistake 6.
How long does it take, and what do you need?
For the first frame with doors and interior fittings, plan two to three hours with two people. Each one after that is faster, because you know how it goes. A wall of three or four frames with sliding doors usually takes a beginner a whole day.
What you need:
- a cordless screwdriver with an adjustable clutch (see mistake 4). A simple 12-volt cordless screwdriver* is plenty for furniture.
- a long spirit level, at least 60 cm
- a tape measure for the diagonals
- a hammer for the back panel nails
- a drill and the right wall plugs for the wall fixing
- a second person, at least for standing the frame up
DIY or hire a pro?
A single PAX on a flat floor, with hinged doors and plenty of time: most people can manage that themselves if they know the mistakes above.
It gets harder with:
- combinations of three or more frames that need to line up exactly
- sliding doors, which depend on a perfectly level frame
- uneven floors and wavy walls, typical of older buildings
- tight ceiling heights, where every centimetre counts
- plasterboard or perforated brick walls, where the wall fixing is trickier
This decides whether the doors still run as smoothly in three years as on day one.
Do you live in Vienna? Then we're happy to assemble your PAX. We level every frame with a laser, check the wall before drilling and adjust every door. Find out more about our IKEA PAX assembly in Vienna.
Frequently asked questions
How long does it take to assemble a PAX?
The first time, plan two to three hours with two people for one frame with doors and interior fittings. Each one after that goes faster. A combination of three or four frames with sliding doors usually takes a beginner a whole day.
Can I assemble a PAX on my own?
IKEA recommends two people, and for good reason. The side panels are up to 236 cm long and tip over easily. You definitely need a second person to stand the frame up and to hang sliding doors.
Does the PAX have to be fixed to the wall?
Yes. IKEA requires it, because a tall wardrobe can tip forward. A wall bracket is included. Screws and wall plugs aren't, because they depend on your wall.
What ceiling height do I need for a 236 cm PAX?
At least 237 cm if you assemble the frame standing up, and at least 240 cm with sliding doors. If you want to build the frame lying down and then stand it up, you need around 245 cm because of the diagonal.
My PAX doors are crooked. What can I do?
First check that the frame is level (spirit level) and screwed to its neighbours. Then adjust the doors at the hinges. Every hinge has screws for sideways, height and depth. Small turns are usually enough.
In short
- Before buying, measure ceiling height, skirting board, sockets and the way into your home.
- With a ceiling below about 245 cm, assemble the frame standing up, not lying down.
- Drive screws with a low clutch setting, do the last turn by hand.
- Measure the diagonals before the back panel goes on.
- Level every frame, connect them and fix them to the wall.